Astrofotografie auf Hakos Namibia (Deutsch)


-

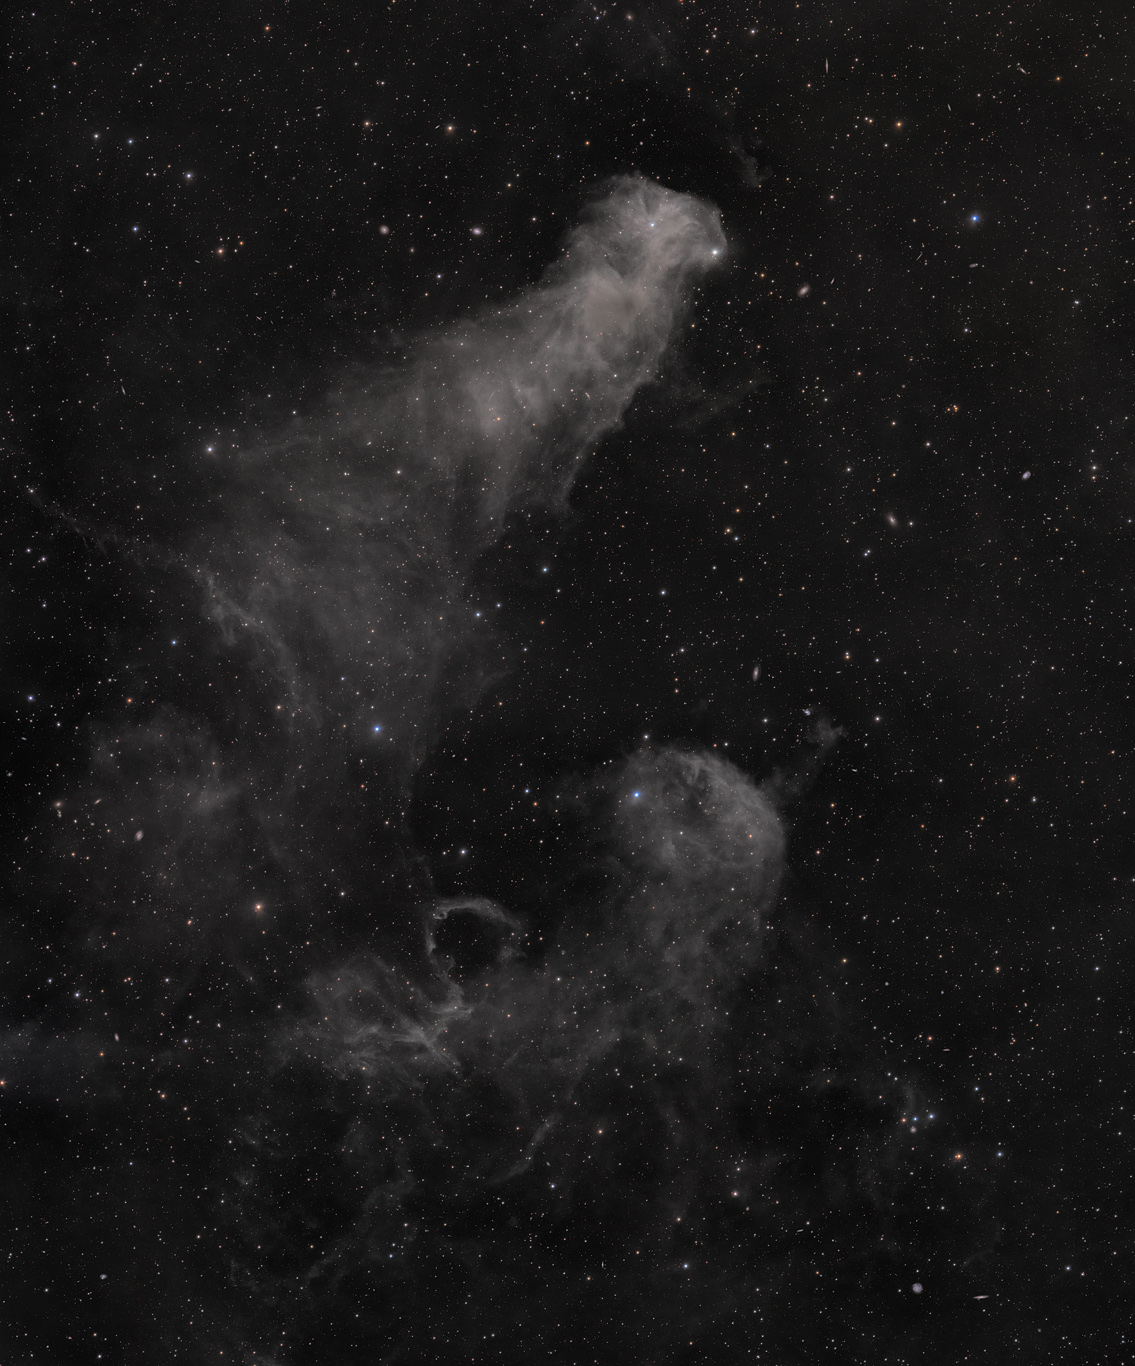
- Witch’s Head
-

- Seagull


-

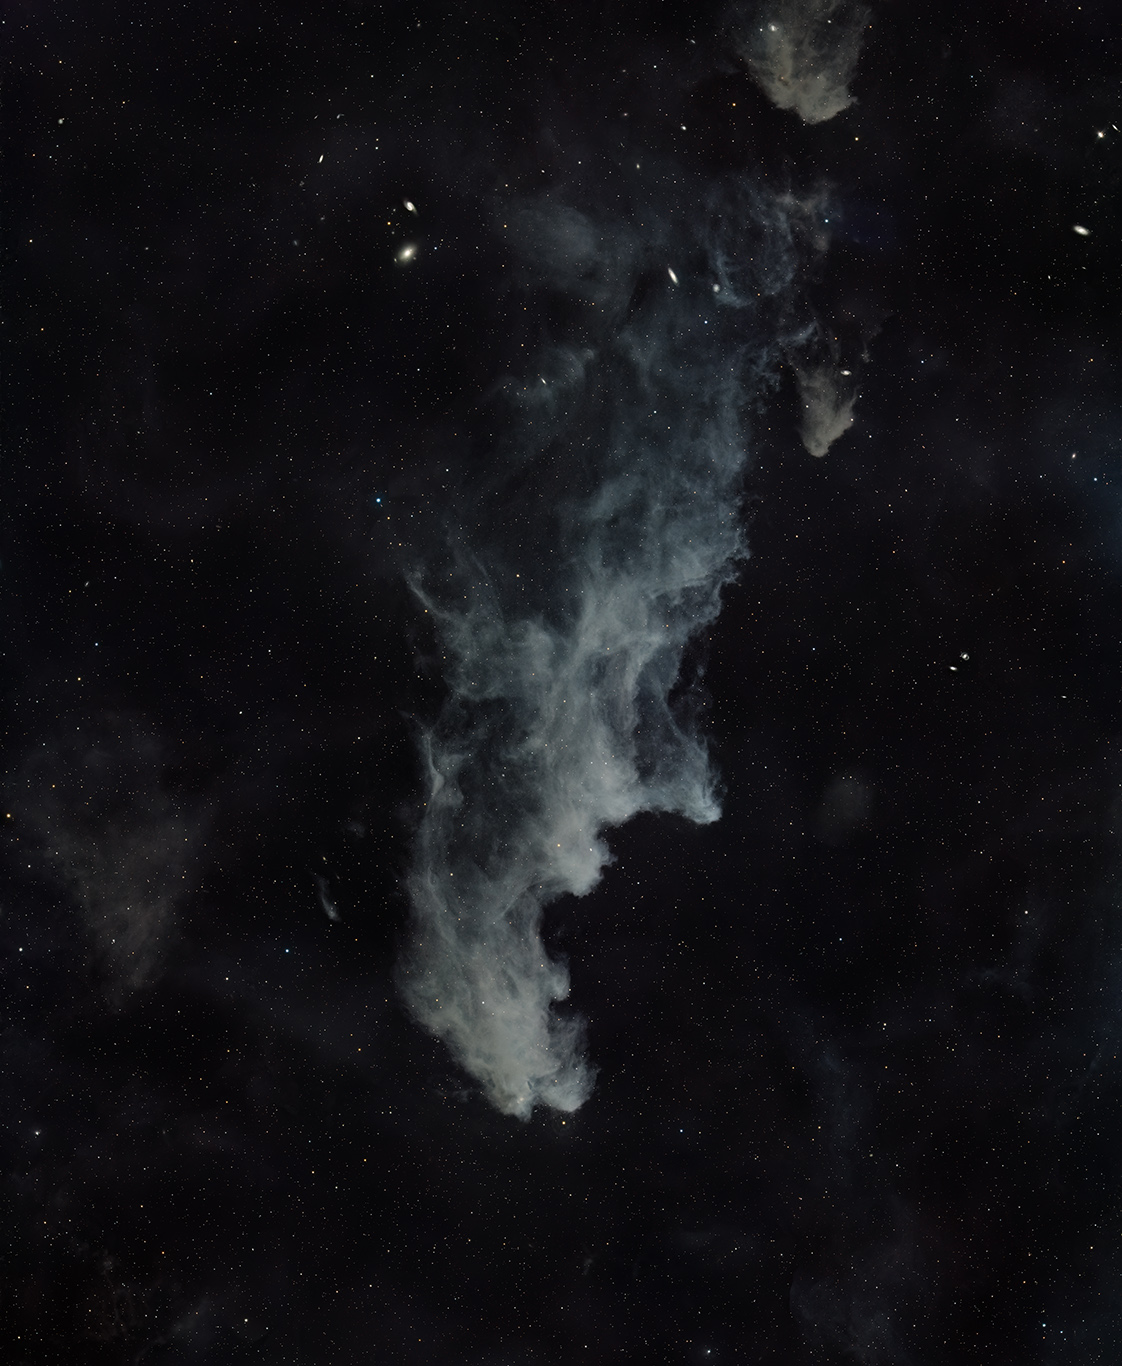
- LBN917-906

-
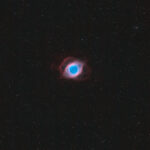
- Helix

-
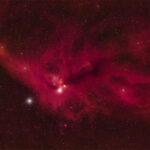
- NGC 6727 (IR)

-

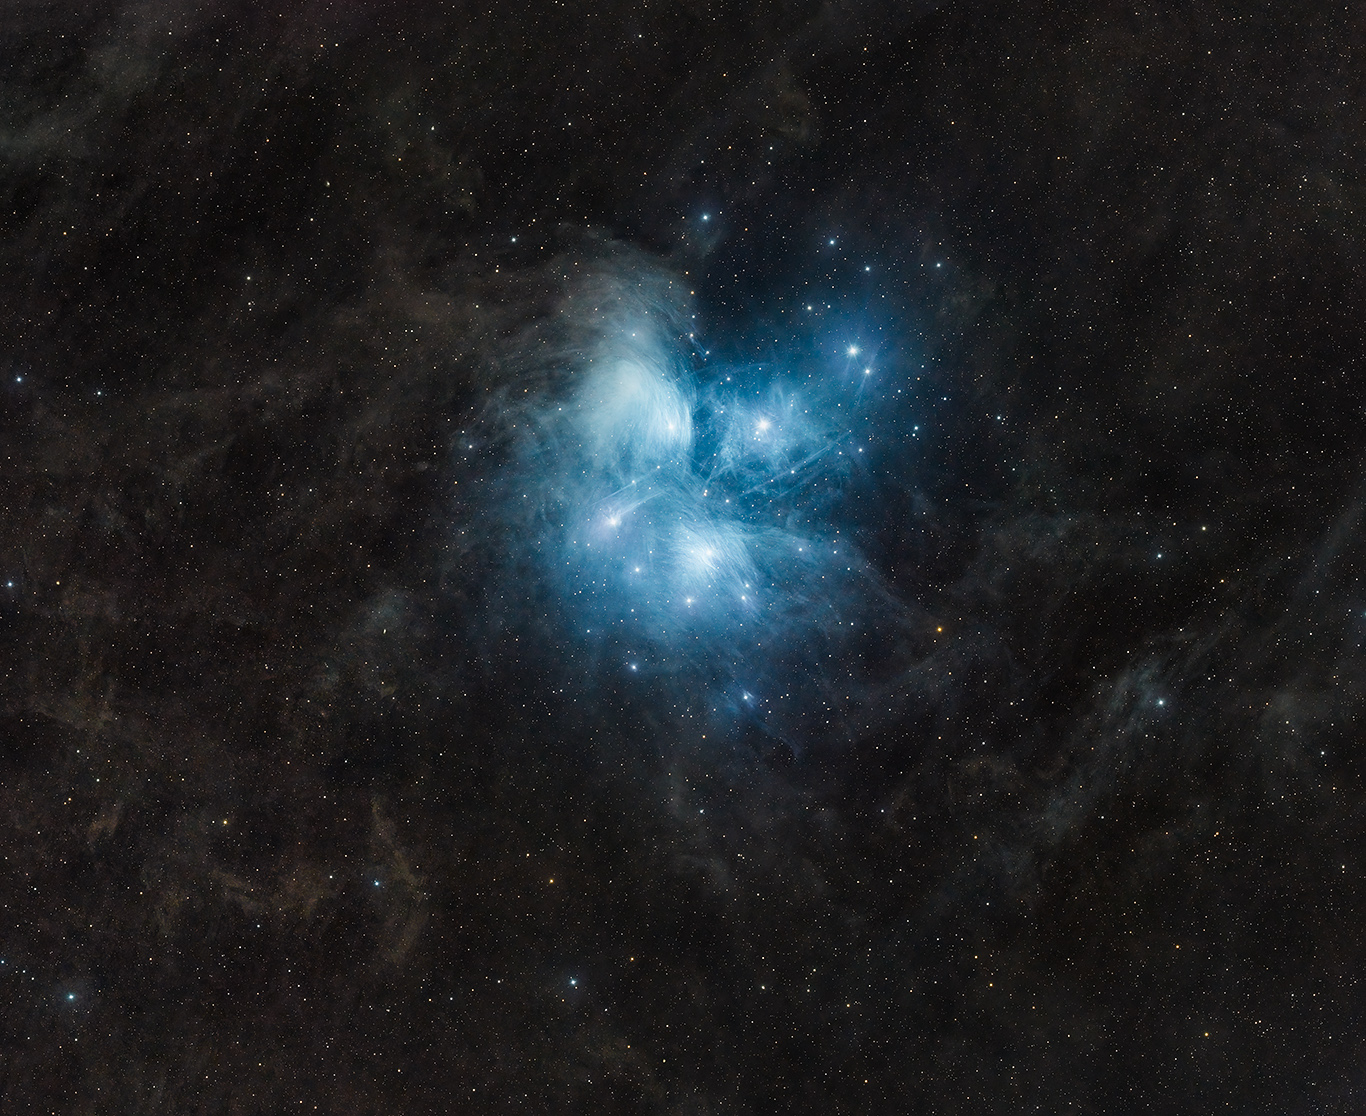
- Pleiades


73 likes
No Comments